How to create a presentation in LibreOffice
Create a presentation in LibreOffice using the presentation engine, Impress.
Pre-requisites
- 1 computer with LibreOffice
Steps
- Open LibreOffice either from the Start menu or the desktop icon.
- Using the menu bar on the left, select Impress Presentation.
NOTE: This will open a blank, untitled Impress screen in the Normal view.
- Under File in the Menu toolbar, click Save As.... Enter the desired filename of your presentation and click Save.
- Complete the title slide by clicking within Properties: Layouts and selecting the layout of the slide, then adding the appropriate title, text, or images (Figure 9).
NOTE: Remember to save frequently while you work by clicking File: Save.
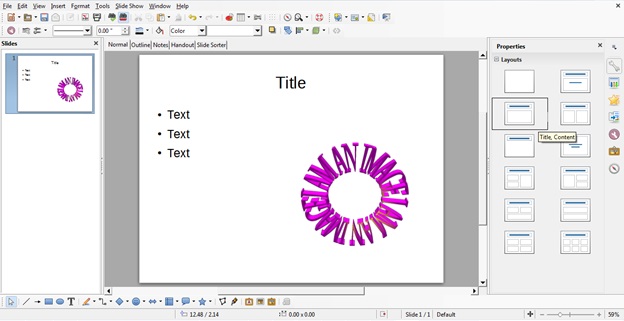
Figure 9: Selecting an appropriate slide layout for the needed title, text, or images. - Add your own images by clicking Insert in the Main toolbar and selecting Image: From File.... Navigate to and select your desired image and click Open (Figure 10).
NOTE: This can also be done by using the shortcut Insert Image button within the content textbox (Figure 11).
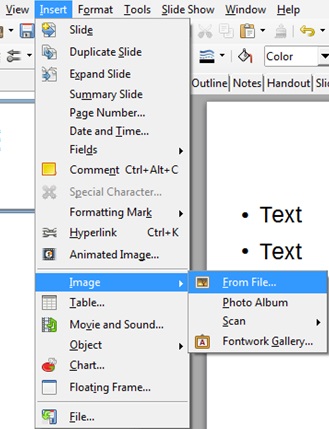
Figure 10: Adding a personal image to a slide using the Main toolbar. 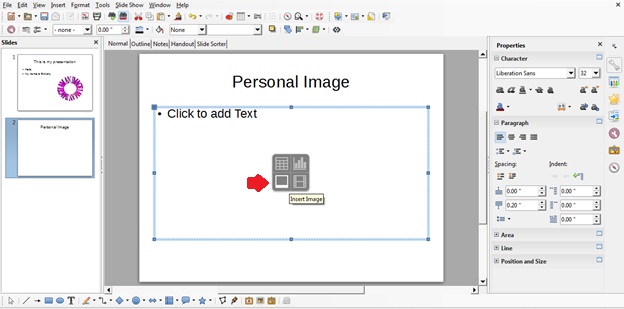
Figure 11: Adding a personal image to a slide using the content button shortcut. - Add additional slides by clicking Insert in the Main toolbar and selecting Slide (Figure 12).
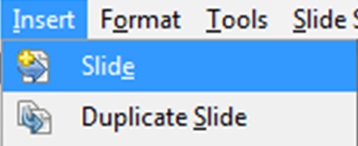
Figure 12: Adding a new slide using the main toolbar. - Complete the presentation using Properties: Layouts to select a slide layout for each slide and the Impress toolbars to format the slides.
- View your presentation by clicking View in the Main toolbar and selecting Start from first Slide.
- Upon completion, click File: Save to save your final presentation.
NOTE: The keyboard shortcut "Ctrl + S" can also be used.
Example
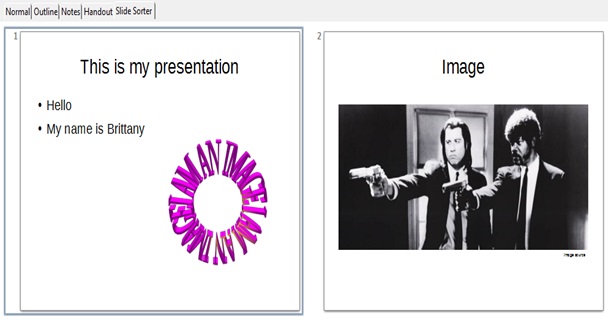
Using the Slide Sorter view, your presentation will look like this (Figure 13).